Why I chose the Wio Link and Grove Connectors for my Capstone
My Wio Link Environment Kit came in the mail this week, and I’m here to tell you why I am excited about this IoT environment monitoring kit.
Normally, when starting out with an Internet of Things application or project for the first time, a maker might need to learn about soldering, breadboards, and different connections, whether they are programming an Arduino, or working with a Raspberry Pi.
For me, reproducibility and remixability are important goals for my Plot Garden capstone project. I want this project to be something that kids in school could try to make, or someone with little physical computing experience. In my search for the easiest way to send data from sensors to an app or a website using a wifi signal, I came accross the Wio link.
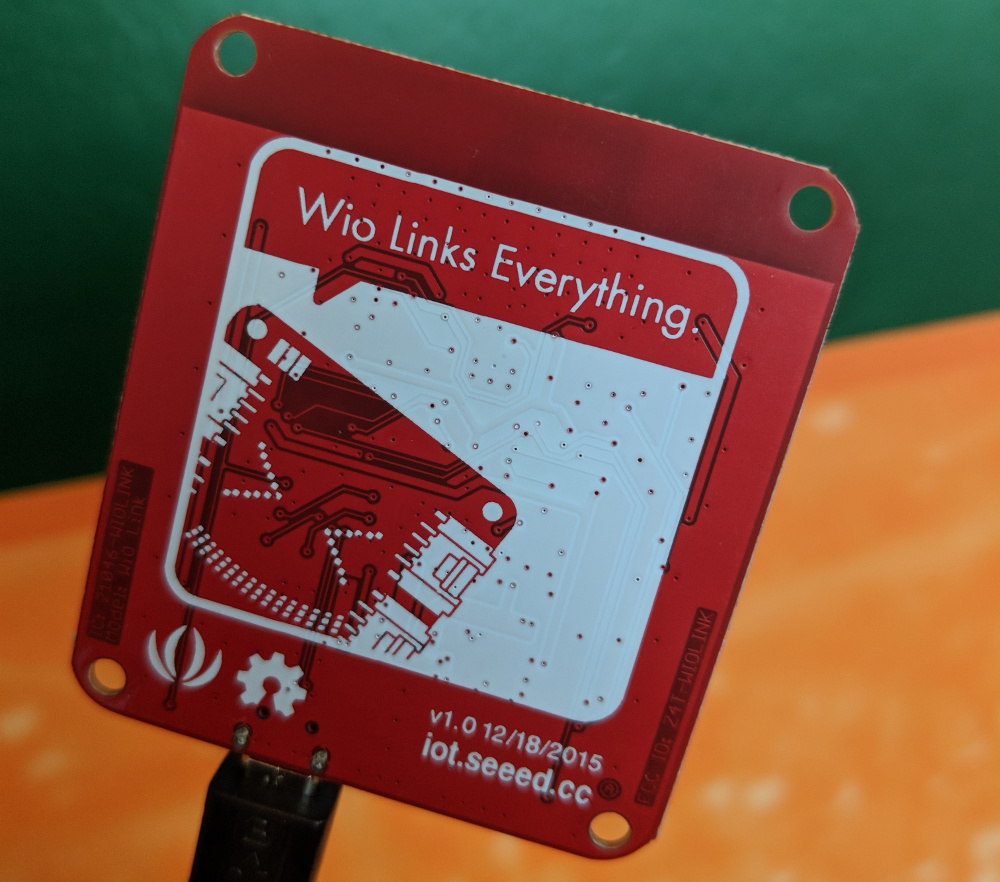
Here is a description of the Wio Link from the official wiki: “Wio Link is an ESP8266 SoC based open-source Wi-Fi development board, the best part of it is the associated platform that allows users to create IoT applications by virtualizing plug-n-play modules to RESTful APIs with mobile Apps.”
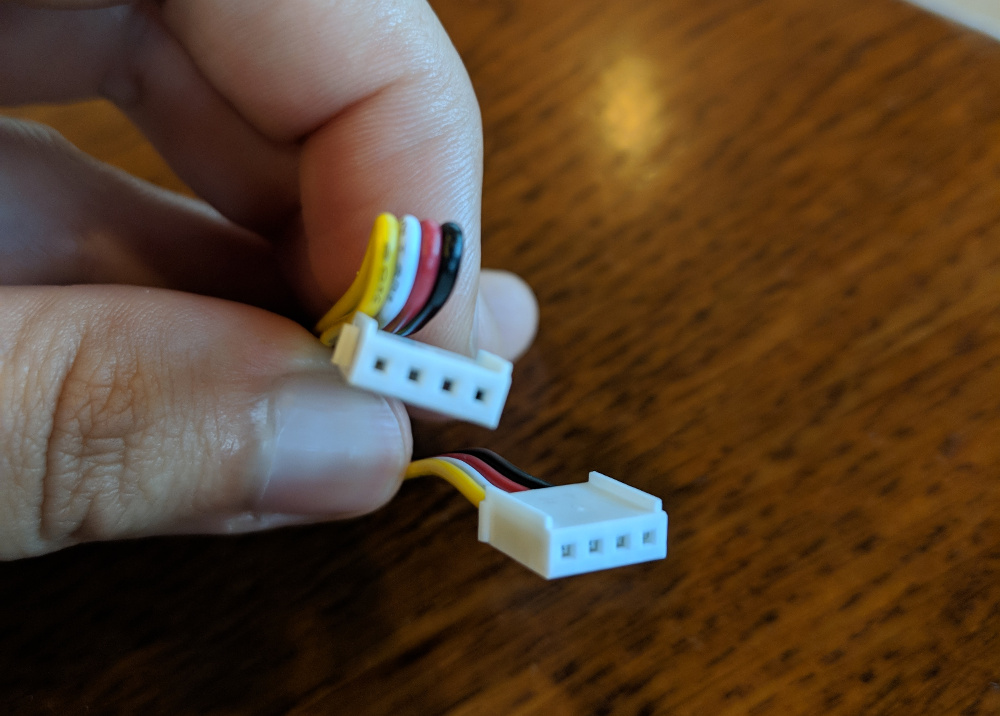
Wio Link does not require soldering, breadboards, complicated hardware, or jumper cables. It uses grove connectors to plug in and read various sensors. What’s that about grove connectors, you say? Well, here’s another definition from Seeed Studio’s wiki: “Grove is a modular, standardized connector prototyping system. Grove takes a building block approach to assembling electronics. Compared to the jumper or solder based system, it is easier to connect, experiment and build and simplifies the learning system, but not to the point where it becomes dumbed down.” Grove connectors are plug-in cables that have a stand four pin connector. They are keyed, so they can’t be plugged in backwards. The only thing to be careful of is voltage: if a 5V grove connector is plugged into a 3.3V grove module, it will damage the device with overvoltage!
Basically, Wio Link will be the perfect go-between to connect my garden and my data visualization web app. The Wio Link’s own app will allow me to use the link’s API to connect to my node.js app and graph the data that I am getting from the sensors.
Sensors
So far I’ve selected four sensors. The Wio Link has room for six in total, so I plan to add two more. One of the two will definitely be a water flow sensor, so I can measure the flow while watering the garden. I haven’t decided on the sixth, but I plan to have more ideas for that final sensor once I get the other five to work.
Digital Light Sensor
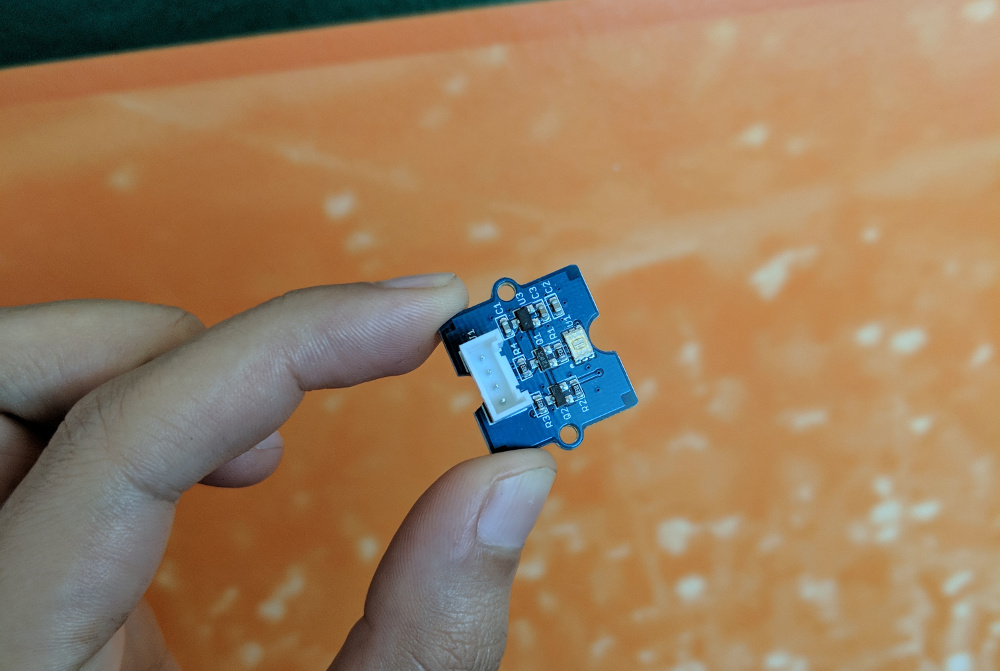
This sensor will allow me to measure when the sun is up, and how much sunlight is reaching the garden.
Soil Moisture Sensor
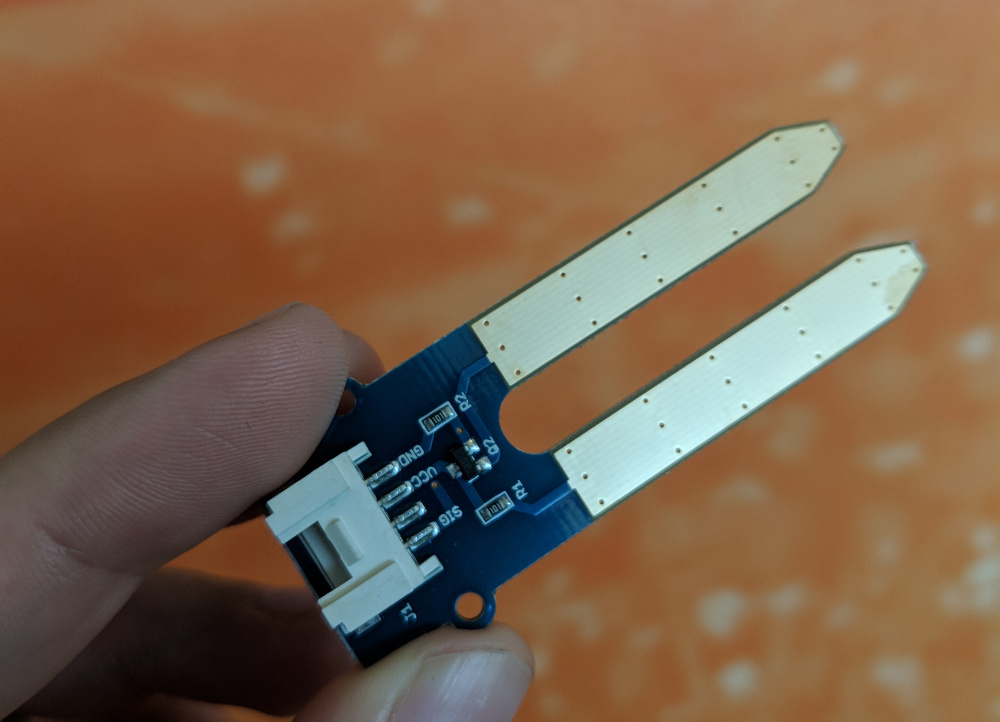
The soil moisture sensor is pretty self explanatory - i’ll stick it in the soil and find out what the moisture levels are in the garden.
Temperature and Humidity
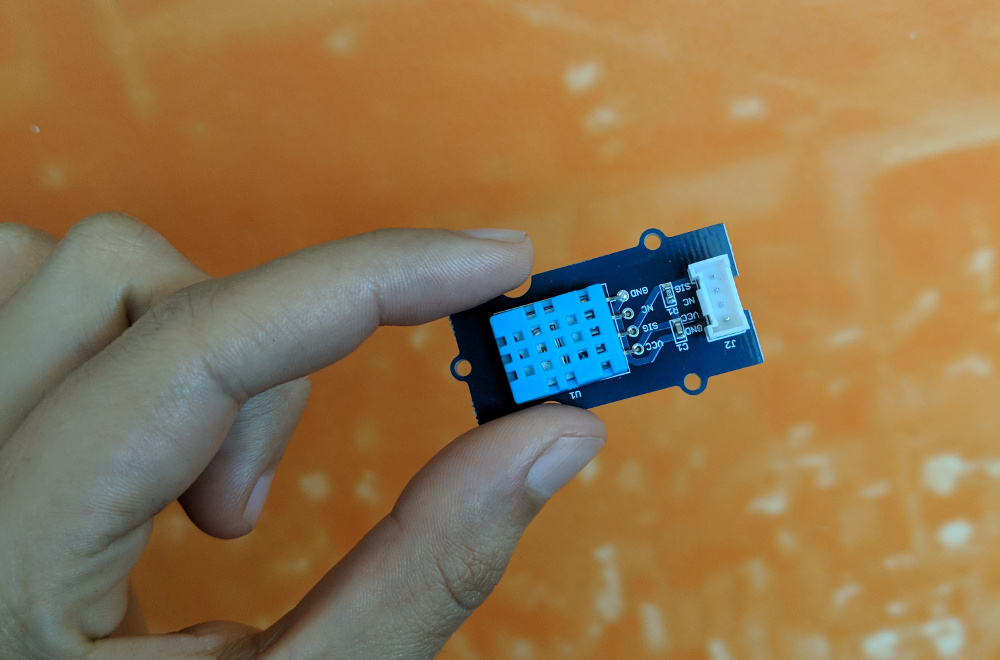
Temperature and humidity are key for the health and growth of a garden, whether it’s indoors or outside. This sensor will add another level of understanding for measuring the effects of the surrounding environment on the garden.
Air Quality Sensor
 My theory is that having a garden will improve air quality.
However, this sensor mainly measures carbon monoxide and other toxic gasses, so it may end up being replaced with a different kind of sensor for Plot Garden.
My theory is that having a garden will improve air quality.
However, this sensor mainly measures carbon monoxide and other toxic gasses, so it may end up being replaced with a different kind of sensor for Plot Garden.
Conclusion
The Wio Link and sensors with grove connectors are a key first step towards a working Plot Garden prototype. Next, I plan to test set up the Wio Link app and run a test with one of the sensors. After figuring out how to use the API, I may visualize sample data from this first test of one of the sensors on my web app, in order to provide a proof of concept for my workflow.